Proyectos con Wifi
ScanNetworks
Podemos ir a Ejemplos y vamos a ejecutar el ScanNetworks que no requiere contraseñas de wifi
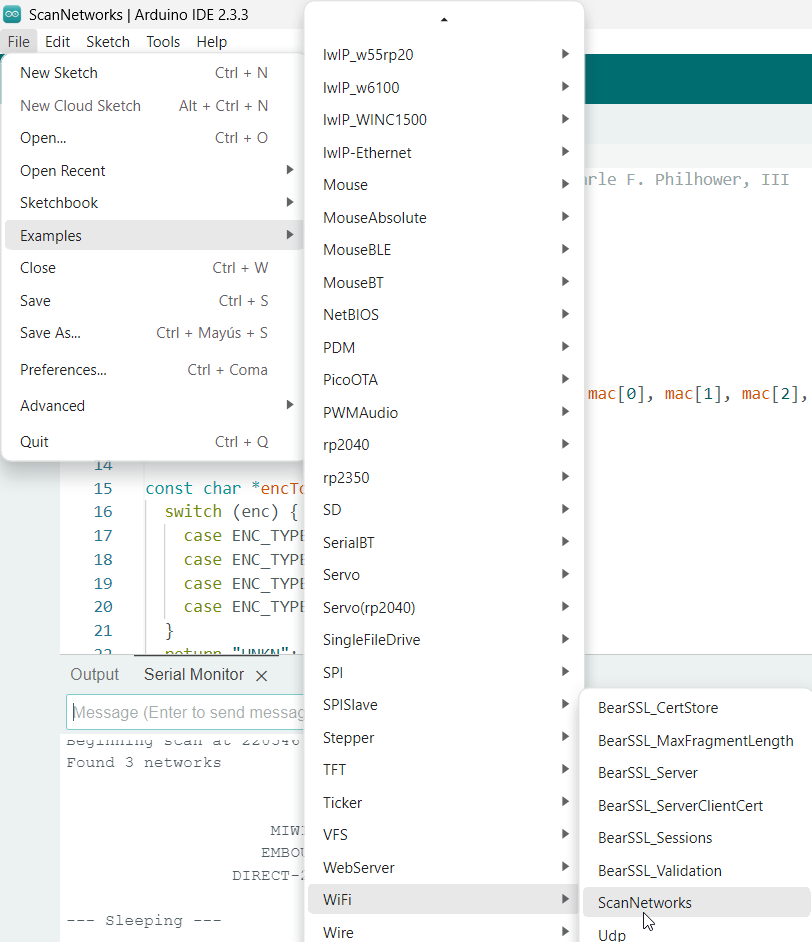
Al ejecutarlo nos sale en la ventana de monitor serie las wifis que encuentra
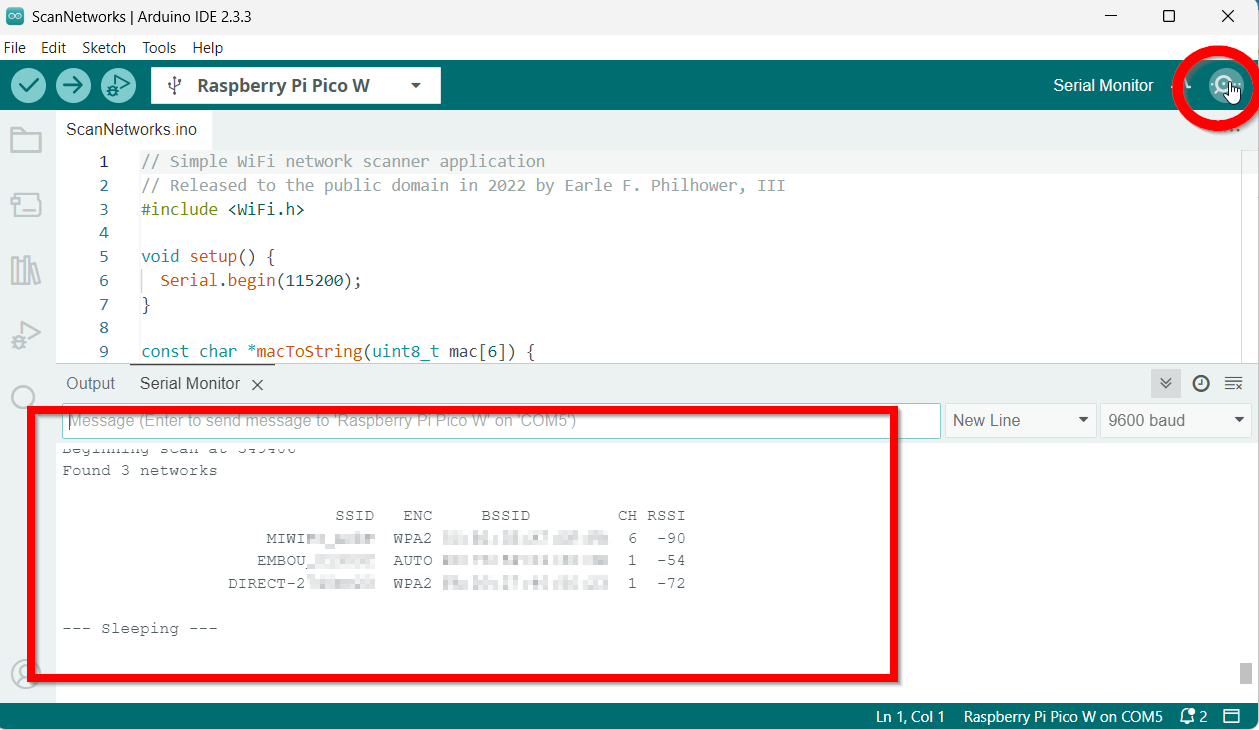
WifiClient
Si nos vamos a este ejemplo:
Tenemos que ir a las líneas 9 y 10 para poner nuestra wifi y contraseña:
#define STASSID "aquituwifi"
#define STAPSK "aqui tu contraseña"
Al ejecutarlo llama a esta dirección definida en las líneas 16 y 17
const char* host = "djxmmx.net";
const uint16_t port = 17;
Y sale la cita del día cada 5 minutos en el puerto serie
WiFi connected
IP address:
192.168.1.48
connecting to djxmmx.net:17
sending data to server
receiving from remote server
"Thomas wants to get it in quickly, and...Now there's a steal by Bird!
 Underneath to DJ, lays it in!
 1 second left, what a play by Bird!"
	 - 1987 NBA Eastern Conference Finals

closing connection
connecting to djxmmx.net:17
sending data to server
receiving from remote server
"Oh oh oh oh oh ooh, why'd you have to go oh, away from all, me love, why you leave me, w-why you leave me?..."
	 - Sean Kingston (Me Love)

closing connection
connecting to djxmmx.net:17
sending data to server
receiving from remote server
"I wanna run away, with you, cuz baby you're my everything..."
	 - Frankie J. (Run Away)

closing connection
Encender y apagar un led
De https://dronebotworkshop.com/picow-arduino/ hemos conseguido este código, donde Raspberry actúa como cliente, pero esta pensado para encender y apagar el led integrado en la Rasberry Pi Pico W, así que le hemos añadido el Led rojo de PicoBrick que esta en GPI7
En la línea 102 que apague el pin 7 también digitalWrite(7, LOW); Acuérdate de poner en las líneas 17 y 18 tu wifi
/*
  Pico W Web Interface Demo
  picow-web-control-demo.ino
  Web Interface & WiFi Connection
  Control the onboard LED with Pico W

  Adapted from ESP32 example by Rui Santos - https://randomnerdtutorials.com

  DroneBot Workshop 2022
  https://dronebotworkshop.com
*/

// Load Wi-Fi library
#include <WiFi.h>

// Replace with your network credentials
const char* ssid = "pontuwifi";
const char* password = "pontucontraseña";

// Set web server port number to 80
WiFiServer server(80);

// Variable to store the HTTP request
String header;

// Variable to store onboard LED state
String picoLEDState = "off";

// Current time
unsigned long currentTime = millis();
// Previous time
unsigned long previousTime = 0;
// Define timeout time in milliseconds (example: 2000ms = 2s)
const long timeoutTime = 2000;

void setup() {

  // Start Serial Monitor
  Serial.begin(115200);

  // Initialize the LED as an output
  pinMode(LED_BUILTIN, OUTPUT);
  pinMode(7,OUTPUT);//initialize digital pin 7 as an output

  // Set LED off
  digitalWrite(LED_BUILTIN, LOW);

  // Connect to Wi-Fi network with SSID and password
  WiFi.begin(ssid, password);

  // Display progress on Serial monitor
  while (WiFi.status() != WL_CONNECTED) {
    delay(500);
    Serial.print(".");
  }

  // Print local IP address and start web server
  Serial.println("");
  Serial.print("WiFi connected at IP Address ");
  Serial.println(WiFi.localIP());

  // Start Server
  server.begin();
}

void loop() {

  WiFiClient client = server.available();   // Listen for incoming clients

  if (client) {                             // If a new client connects,
    currentTime = millis();
    previousTime = currentTime;
    Serial.println("New Client.");          // print a message out in the serial port
    String currentLine = "";                // make a String to hold incoming data from the client
    while (client.connected() && currentTime - previousTime <= timeoutTime) {  // loop while the client's connected
      currentTime = millis();
      if (client.available()) {             // if there's bytes to read from the client,
        char c = client.read();             // read a byte, then
        Serial.write(c);                    // print it out the serial monitor
        header += c;
        if (c == '\n') {                    // if the byte is a newline character
          // if the current line is blank, you got two newline characters in a row.
          // that's the end of the client HTTP request, so send a response:
          if (currentLine.length() == 0) {
            // HTTP headers always start with a response code (e.g. HTTP/1.1 200 OK)
            // and a content-type so the client knows what's coming, then a blank line:
            client.println("HTTP/1.1 200 OK");
            client.println("Content-type:text/html");
            client.println("Connection: close");
            client.println();

            // Switch the LED on and off
            if (header.indexOf("GET /led/on") >= 0) {
              Serial.println("LED on");
              picoLEDState = "on";
              digitalWrite(LED_BUILTIN, HIGH);
              digitalWrite(7, HIGH);
            } else if (header.indexOf("GET /led/off") >= 0) {
              Serial.println("LED off");
              picoLEDState = "off";
              digitalWrite(LED_BUILTIN, LOW);
              digitalWrite(7, LOW);
            }

            // Display the HTML web page
            client.println("<!DOCTYPE html><html>");
            client.println("<head><meta name=\"viewport\" content=\"width=device-width, initial-scale=1\">");
            client.println("<link rel=\"icon\" href=\"data:,\">");

            // CSS to style the on/off buttons
            client.println("<style>html { font-family: Helvetica; display: inline-block; margin: 0px auto; text-align: center;}");
            client.println(".button { background-color: #4CAF50; border: none; color: white; padding: 16px 40px;");
            client.println("text-decoration: none; font-size: 30px; margin: 2px; cursor: pointer;}");
            client.println(".button2 {background-color: #F23A3A;}</style></head>");

            // Web Page Heading
            client.println("<body><h1>Pico W LED Control</h1>");

            // Display current state, and ON/OFF buttons for Onboard LED
            client.println("<p>Onboard LED is " + picoLEDState + "</p>");

            // Set buttons
            if (picoLEDState == "off") {

              //picoLEDState is off, display the ON button
              client.println("<p><a href=\"/led/on\"><button class=\"button\">ON</button></a></p>");
            } else {

              //picoLEDState is on, display the OFF button
              client.println("<p><a href=\"/led/off\"><button class=\"button button2\">OFF</button></a></p>");
            }

            client.println("</body></html>");

            // The HTTP response ends with another blank line
            client.println();
            // Break out of the while loop
            break;
          } else { // if you got a newline, then clear currentLine
            currentLine = "";
          }
        } else if (c != '\r') {  // if you got anything else but a carriage return character,
          currentLine += c;      // add it to the end of the currentLine
        }
      }
    }
    // Clear the header variable
    header = "";
    // Close the connection
    client.stop();
    Serial.println("Client disconnected.");
    Serial.println("");
  }
}
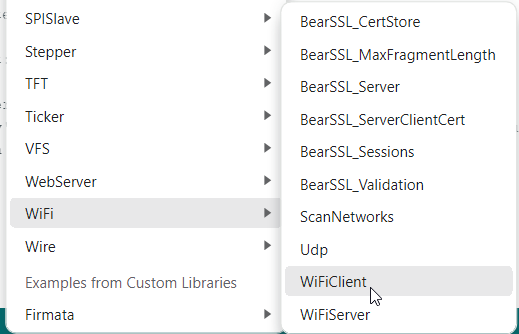
Al ejecutarlo, nos aparece por el puerto serie la IP que se ha conectado: